
Release inventory at launch time
Published:2026-08-07 16:20/Updated:2026-09-08 13:58
Set per-SKU inventory to given values at a chosen time — for releasing stock at launch or for limited quantity sales. Includes how to read the pre-flight check.
Inventory change sets the inventory of each SKU of the selected products to a value you specify, at a time you choose. Use it to release stock exactly at launch, or for limited quantity sales.
Caution
This kind is supported on SHOPLINE 2.0 connections only. A message tells you if the selected connection is not supported.
1. Pick the products
On the Product List tab, tick the products and click [New schedule]. Quantities are per SKU, but selection is per product.
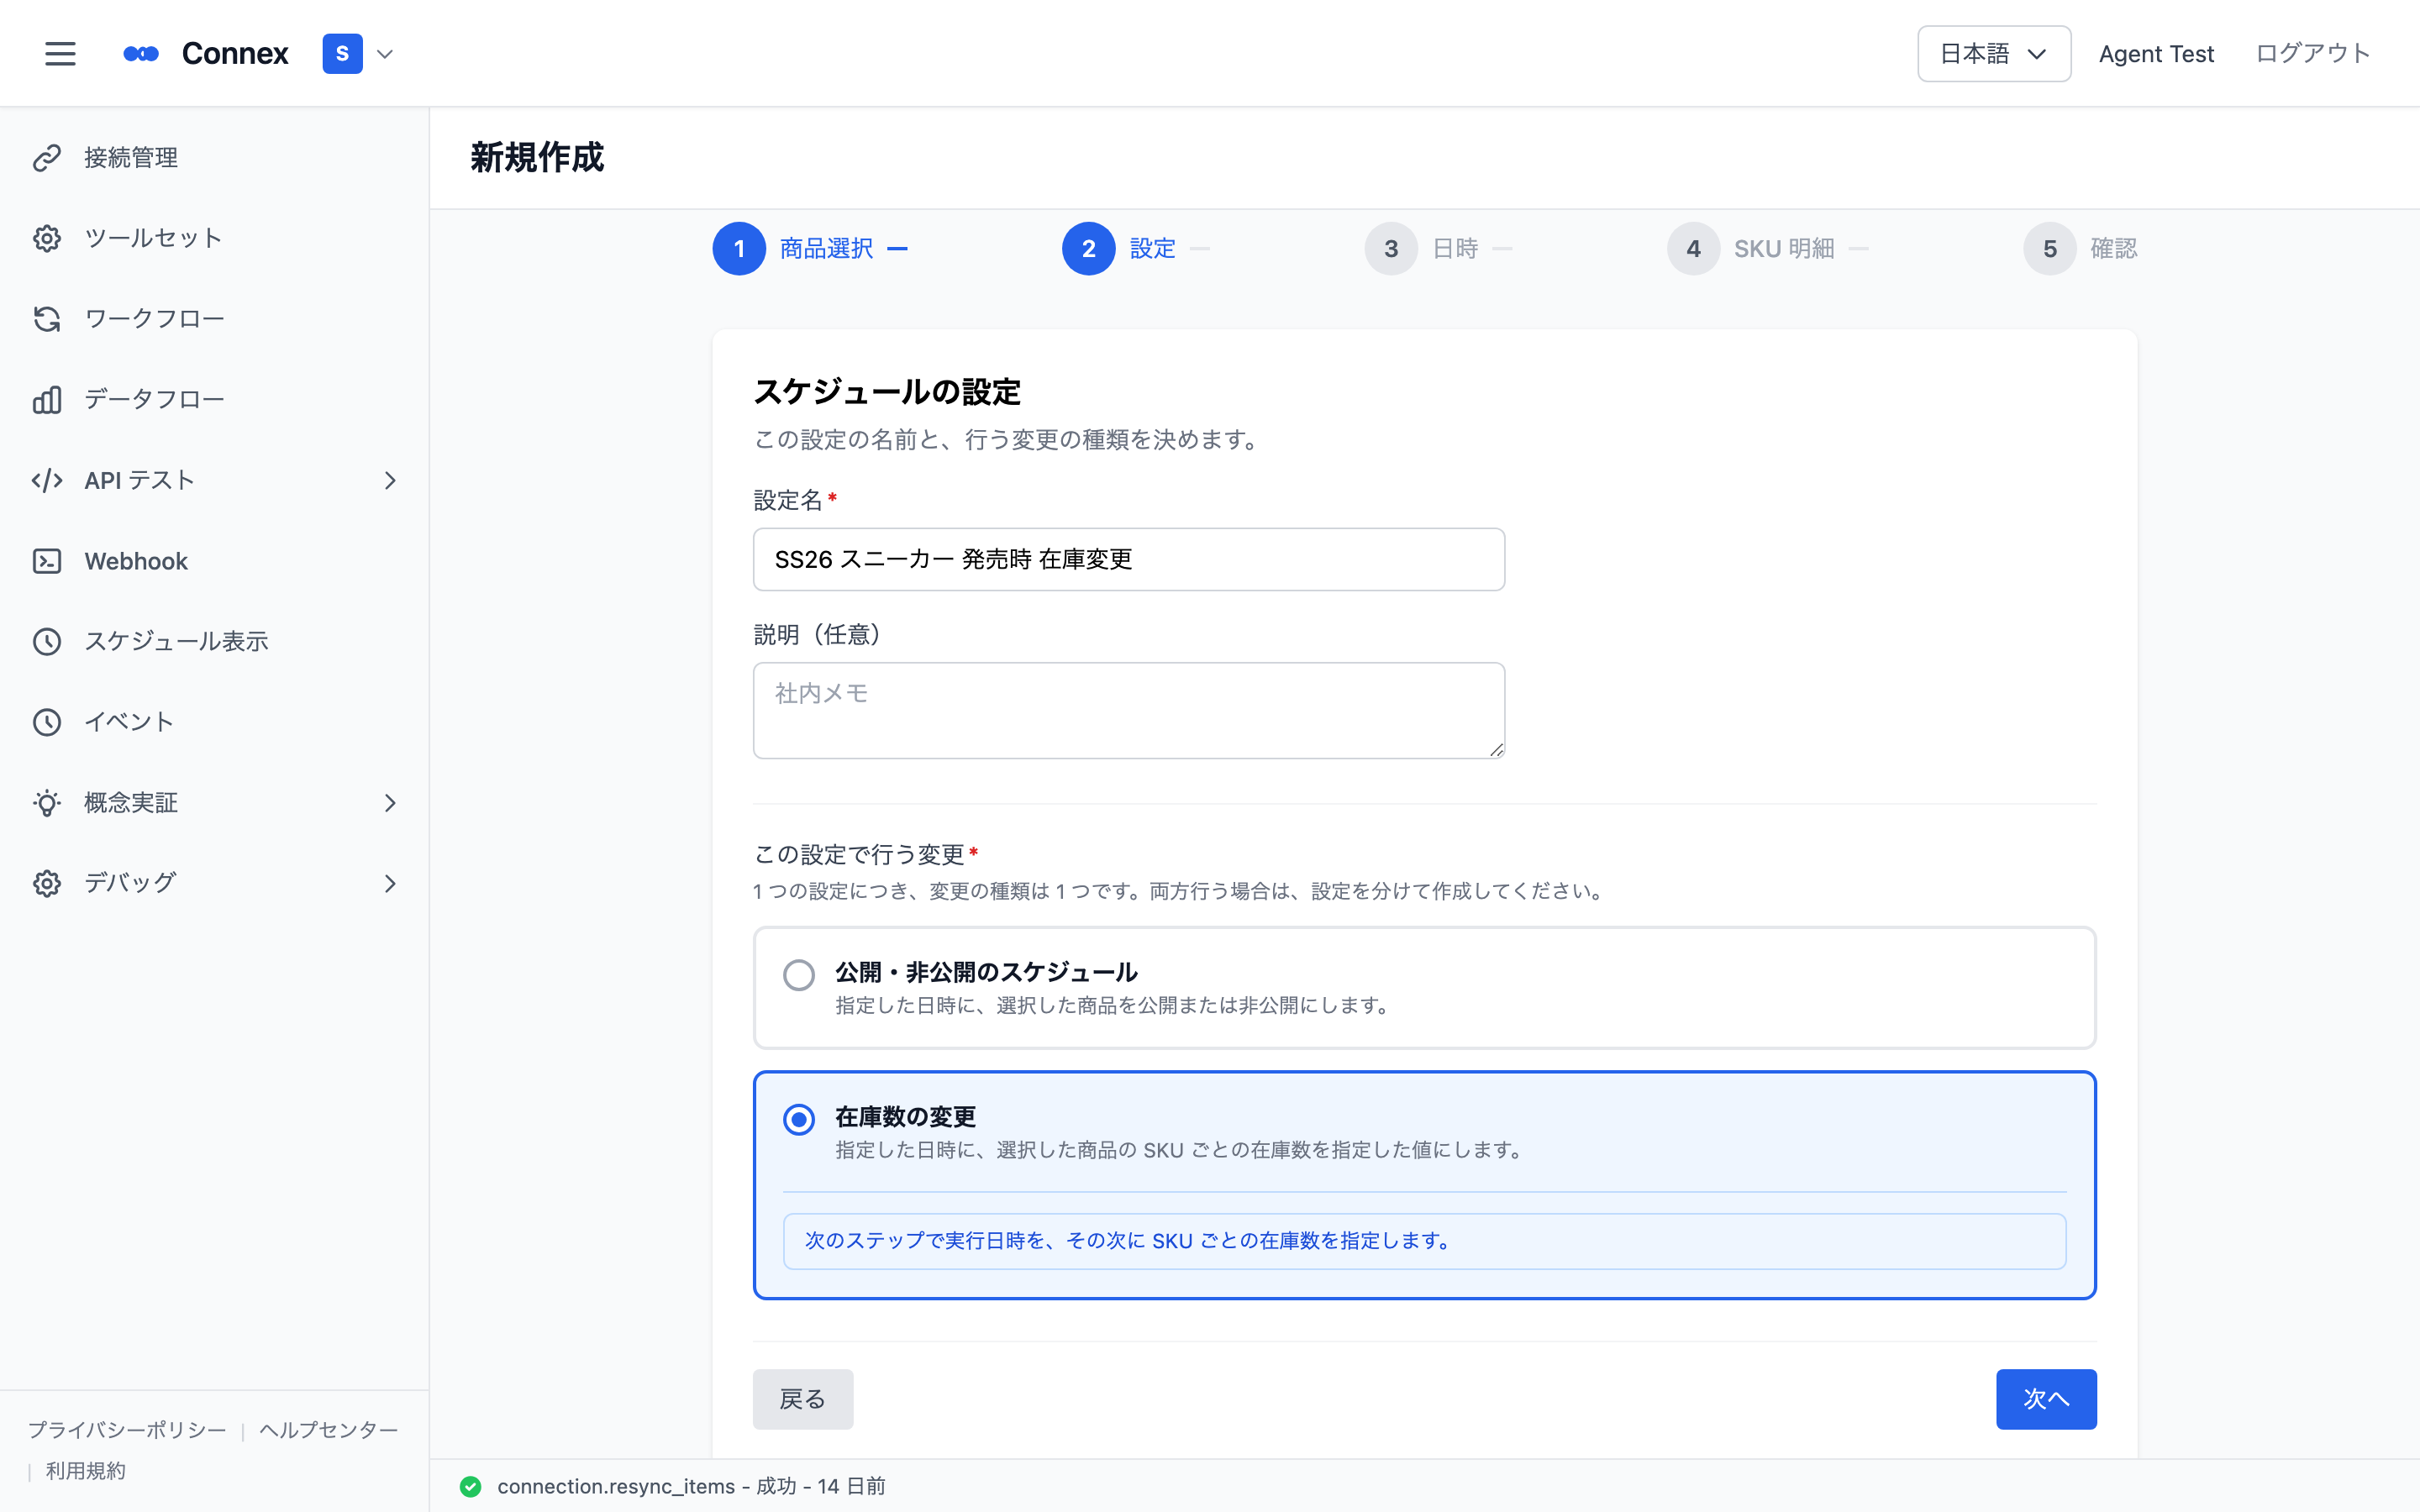
2. Choose "Inventory change"
- Enter a name (e.g. "SS26 sneakers launch stock").
- Choose [Inventory change] as the change.
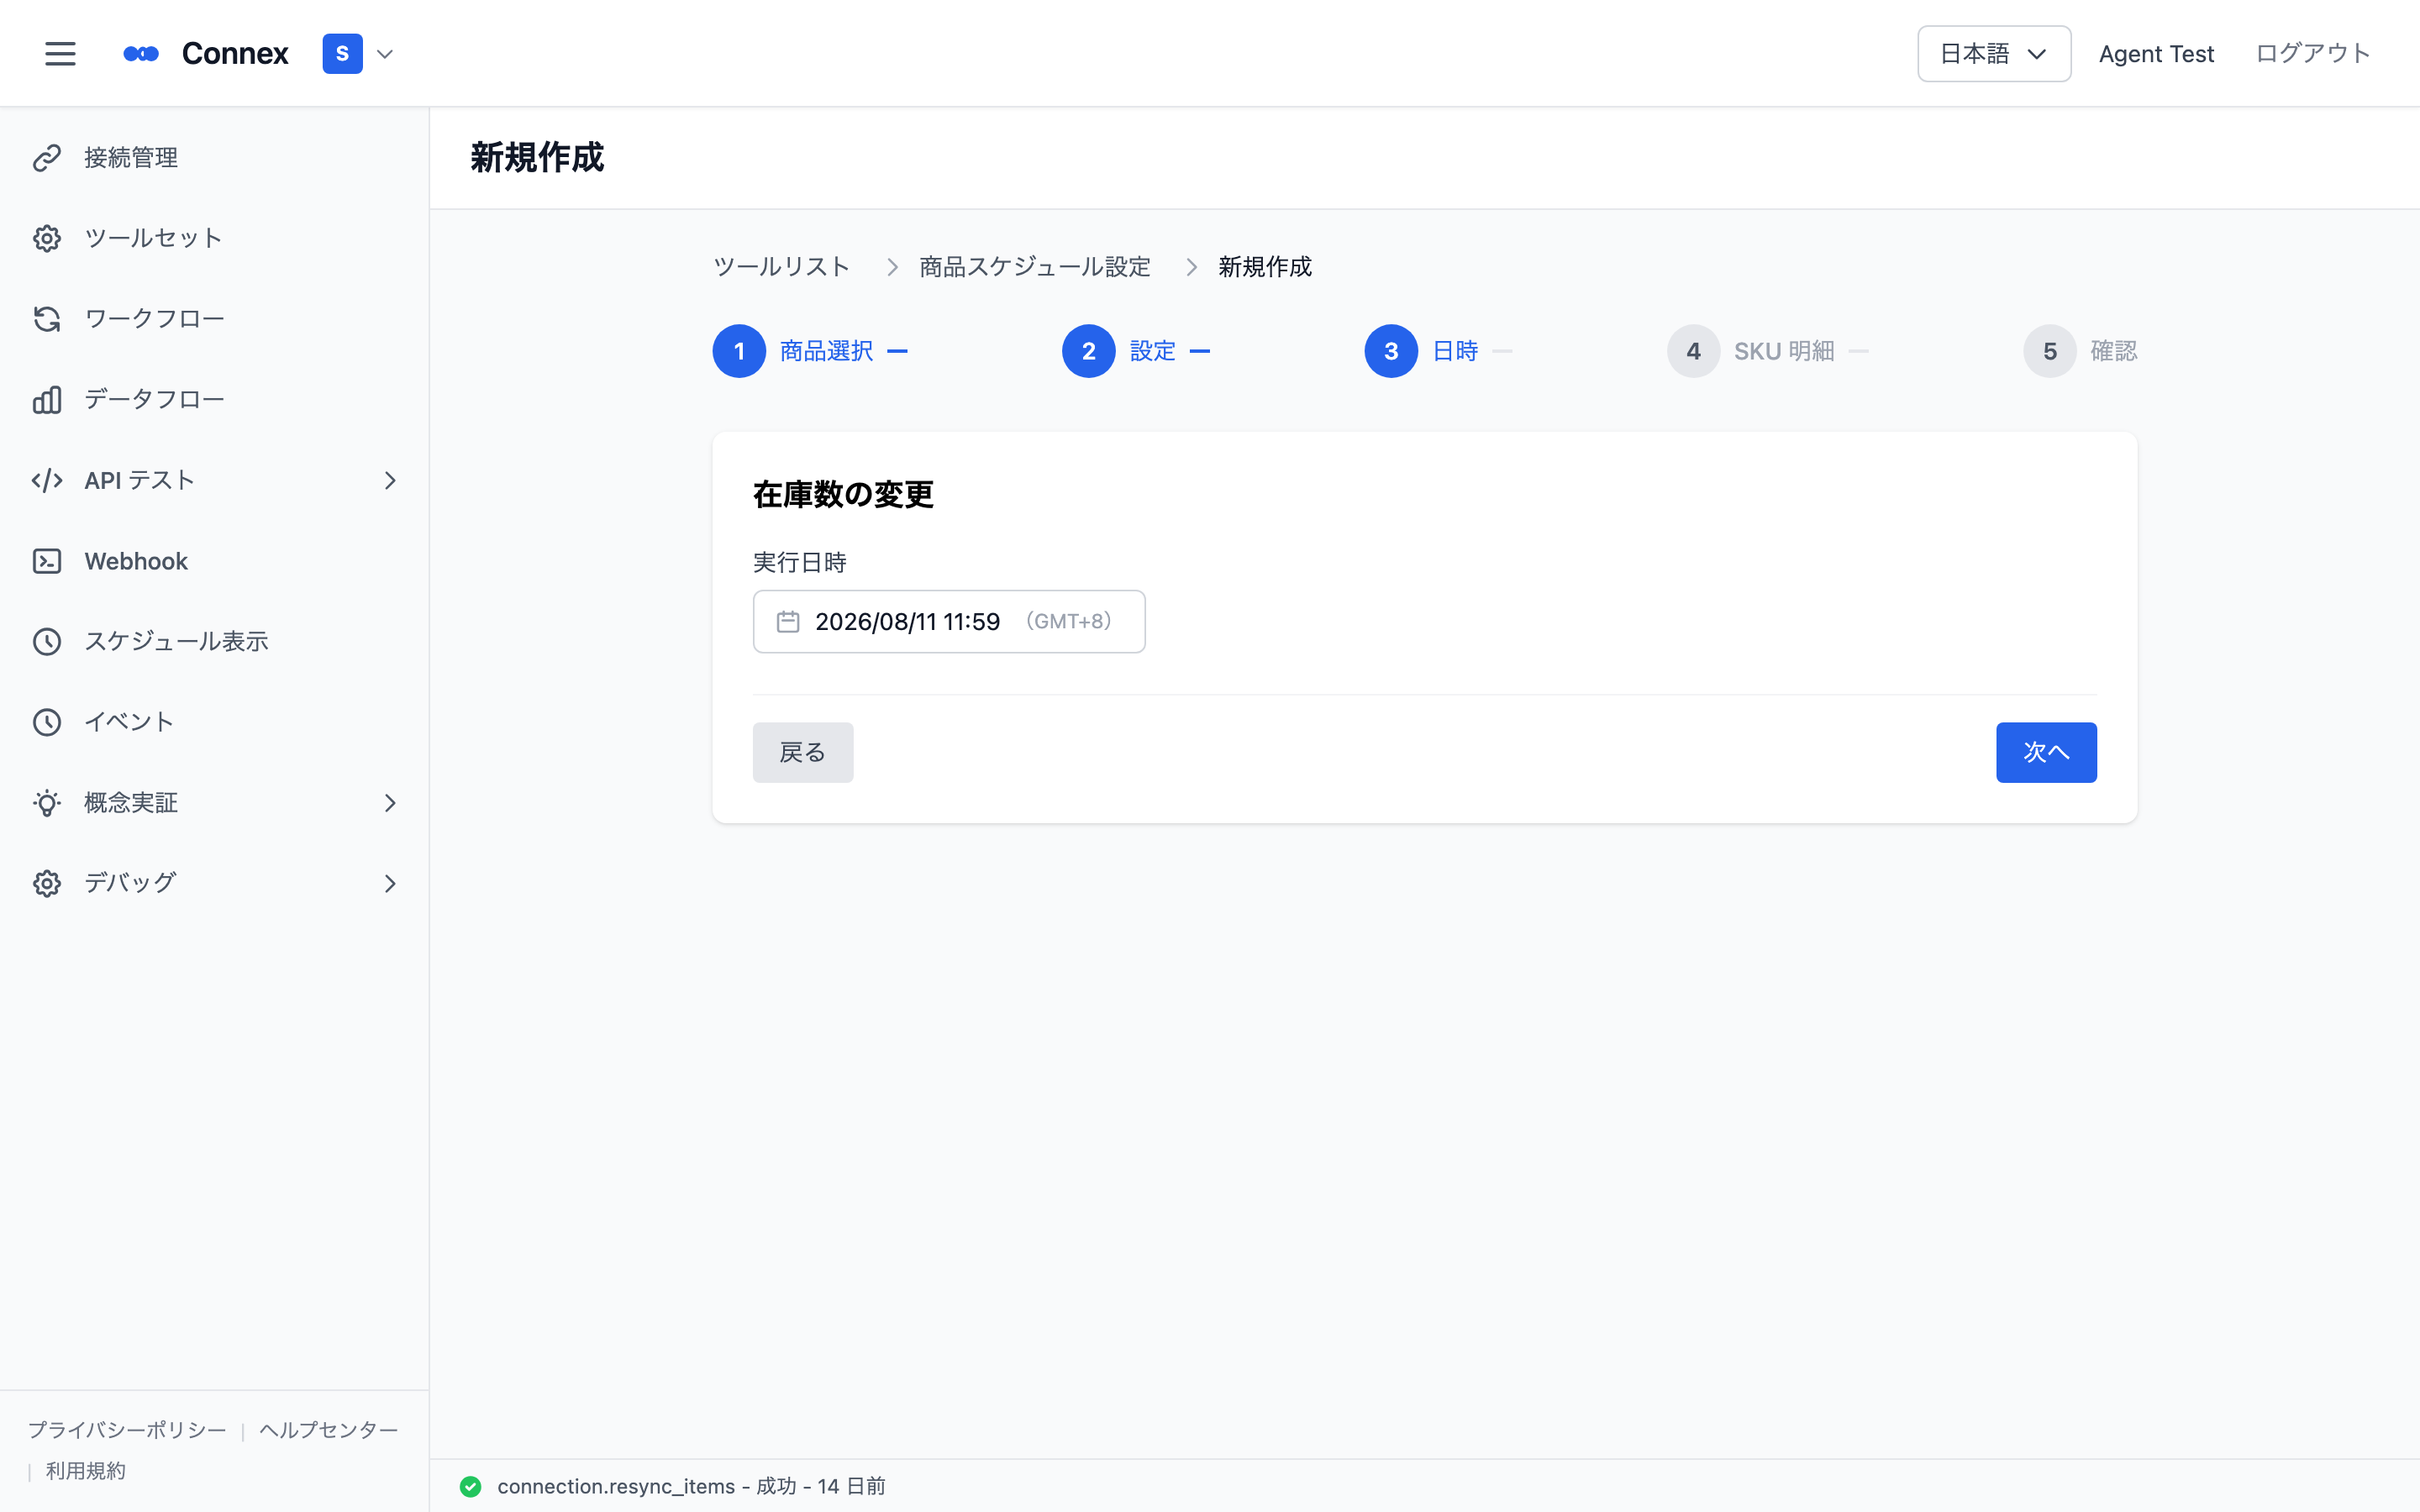
3. Set the time
Set when the inventory should be applied. To line it up with a launch, enter that time directly.
4. Enter per-SKU quantities
The SKUs of the selected products are listed.
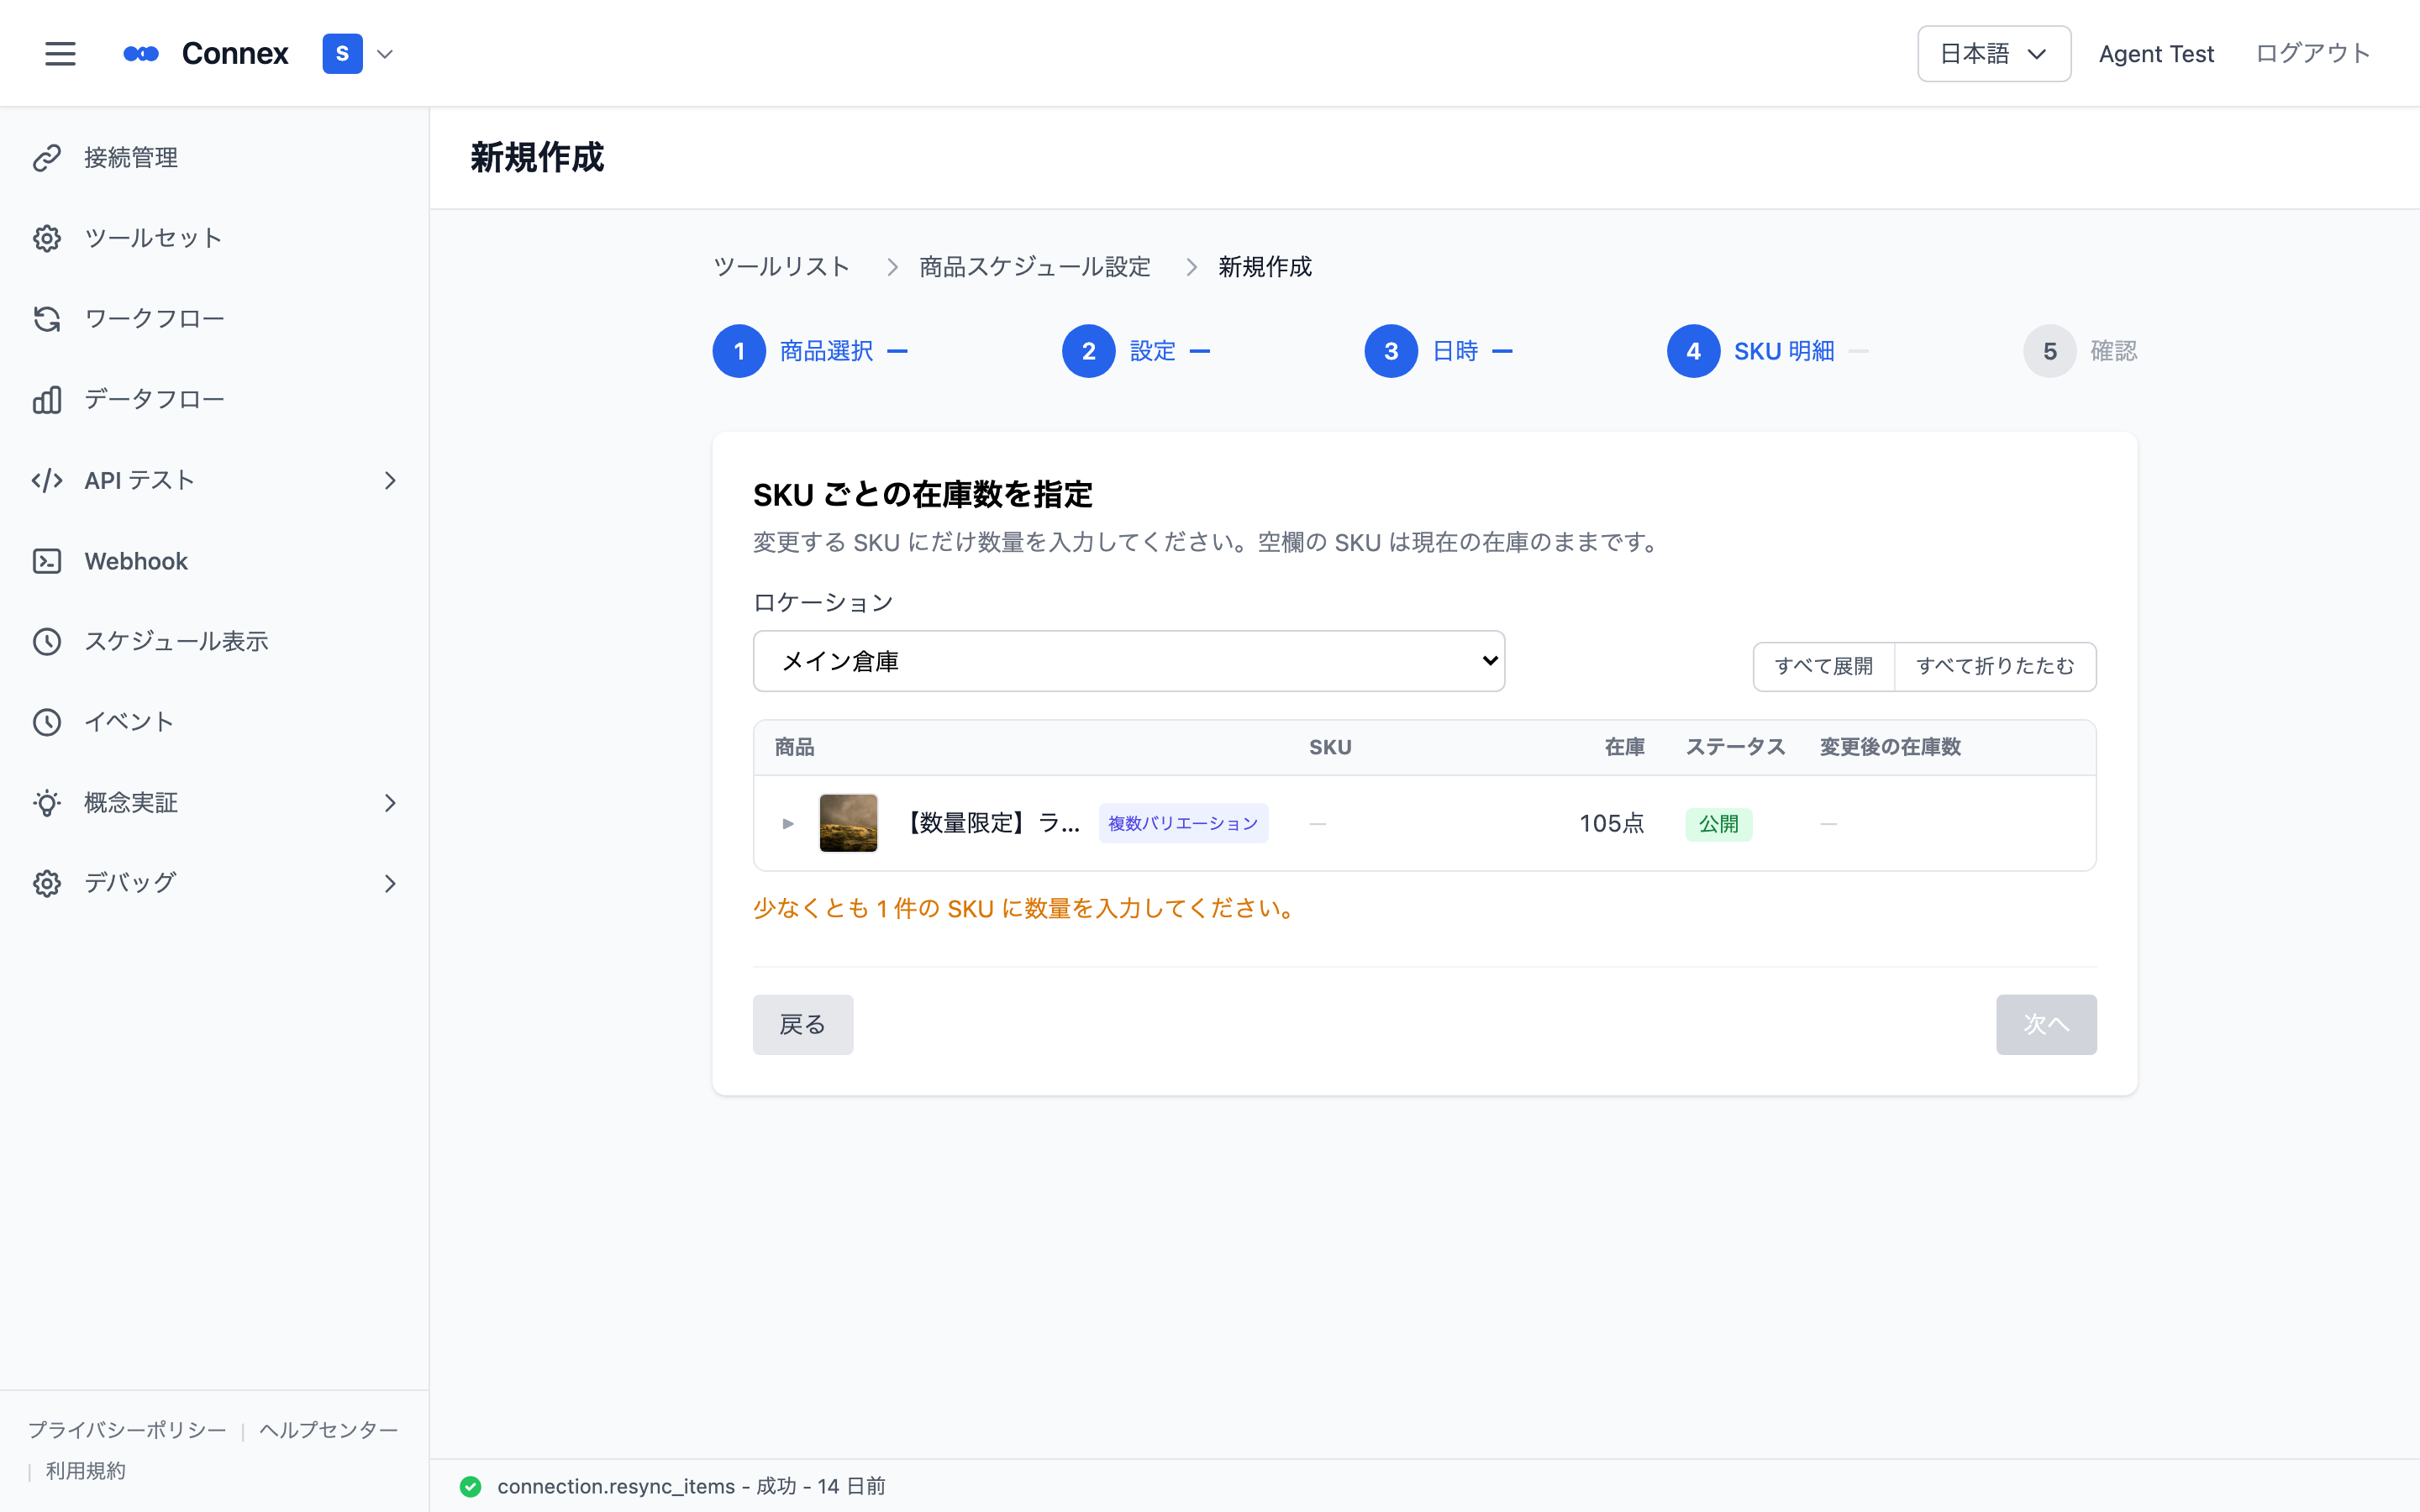
| Column | Content |
|---|---|
| Product / SKU | Product name and SKU |
| Current inventory | Inventory right now |
| New inventory | The quantity to set at run time |
Enter quantities only for the SKUs you want to change. SKUs left blank keep their current inventory.
- Entering 0 means "sold out"
- SKUs whose inventory cannot be set are marked as such
5. Pass the pre-flight check
Before creation a pre-flight check confirms the change can actually run at the scheduled time. A message confirms when every target SKU meets the conditions.
If there are problems, they are listed and must be resolved first. Three can appear:
| Problem | Meaning | What to do |
|---|---|---|
| Inventory tracking is off | Scheduled inventory changes cannot run for that product | You can run [Enable inventory tracking] right there. SHOPLINE then adjusts inventory automatically as orders come in (existing quantities are not changed) |
| No inventory record at this location | The selected location has no inventory record for that product | You can create one right there. It starts at 0, and other locations are unaffected |
| SKU not found in the store | It may have been deleted or recreated in the store | Go back a step and select the products again |
Caution
If the selected location itself is unavailable, a message asks you to choose another one — use [Change location].
6. Review and create
The review screen shows the change type / run time / location / SKUs being changed / full SKU list / resulting state. Click [Create] if it looks right.
Warning
A schedule does not run exactly on the second — it may be applied a few to a dozen seconds late. Exact simultaneity is not guaranteed.
Changing a schedule right before launch may not take effect in time. For major launches, finalise the day before and do not touch it on the day.
After creating, check in the schedule list that the status is pending and that the time and location are correct.
7. Confirming it was applied, on the SHOPLINE side
After the schedule runs, you can confirm in the SHOPLINE admin whether that quantity was written by Connex. Open the Adjustment history for the variant’s inventory; it lists Date / activity / Unavailable / Committed / Available / On-hand.
| What the activity column shows | What changed it |
|---|---|
| Inventory adjustment(open-api) + Connex | Written by Connex (this tool) |
| Inventory adjustment(product management) + an email address | Changed by hand in the admin by that person |
| Order created / Order shipped / Order canceled | Moved by an order |
Note
To check that a schedule ran as planned, match the time and quantity in this history against your schedule.
Was this article helpful?